Duck nails, characterized by their unique shape resembling a duck’s foot, can be styled beautifully with a French tip design. This trendy nail art combines the boldness of duck nails with the classic elegance of French tips, making it a popular choice for those looking to make a statement.
Creating this look involves a few simple steps and materials, allowing you to express your creativity while achieving a chic manicure.
Understanding Duck Nails
Duck nails are a distinctive nail shape that mimics the appearance of a duck’s foot. This unique design has gained popularity for its bold and playful aesthetic.
The tapered shape of duck nails allows for creativity in nail art, making them a favorite among enthusiasts. The combination of a vibrant base color with classic French tips creates a striking contrast that elevates the overall look.
Materials Needed for Your Duck Nail French Tips
To achieve this stylish manicure, gather the following materials:
- Nail file and buffer
- Base coat
- Nail polish in your chosen base color
- White nail polish for the tips
- Top coat
- Nail art brush or striping tape (optional)
- Cuticle oil
Having the right tools on hand will streamline the process and ensure a polished finish. Each item plays a vital role in creating the perfect duck nail French tip design.
Step-by-Step Tutorial
Creating your duck nail French tips is a straightforward process that can be done at home or in a salon. Here’s how to get started:
Begin by preparing your nails. File and shape them into the desired duck shape, and buff the surface for a smooth finish. This step is crucial for optimal polish application.
Next, apply a base coat to protect your nails and enhance the adhesion of the polish. Once the base coat is dry, choose a vibrant base color and apply 2-3 coats, allowing each layer to dry completely.
Creating the French Tips
Once your base color is set, it’s time to create the iconic French tips. Using a nail art brush or striping tape, carefully paint the tips of your nails with white polish.
Precision is key here; a clean line will elevate the overall appearance of your manicure. Take your time to ensure each tip is crisp and well-defined.
Finishing Touches
After the white tips have dried, seal your design with a top coat. This not only adds shine but also protects your nail art from chipping.
Finally, don’t forget to moisturize your nails and cuticles with cuticle oil once everything is completely dry. This will keep your nails healthy and enhance the overall look of your manicure.
Time Commitment
Creating stylish duck nail French tips is a manageable task that requires about 1 hour and 15 minutes in total. This includes 15 minutes for preparation and 1 hour for the nail art itself.
Whether you’re a seasoned nail artist or a beginner, this design offers a fun way to express your creativity while achieving a chic and trendy look.
Stylish Duck Nail French Tip Tutorial
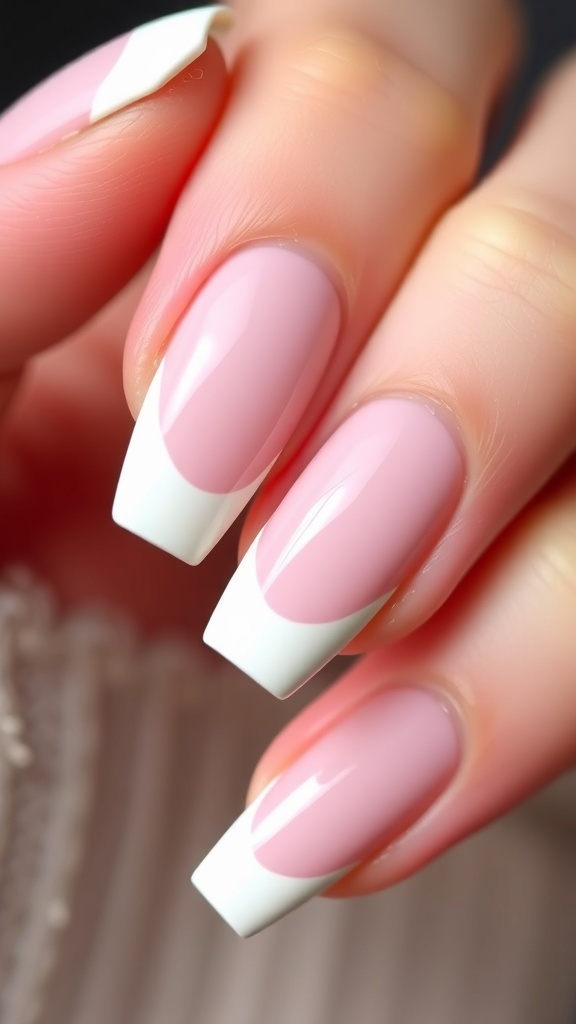
This duck nail French tip design features a tapered shape with a classic white tip that contrasts beautifully against the base color. The process is straightforward and can be completed at home or at a salon, taking approximately 1-2 hours depending on your skill level.
Ingredients
Related
- Red French Tip Christmas Nail Design
- 5 Stylish French Tip Nail Ideas for Short Nails
- 5 Stunning White French Tip Nail Designs for Natural Nails
- 5 Easy DIY French Tip Nail Ideas for Short Nails