This easy Christmas tree drawing tutorial is perfect for beginners and kids looking to create festive artwork. With simple steps and minimal supplies, you can bring the holiday spirit to life on paper.
The tutorial focuses on basic shapes and techniques, making it accessible for all skill levels. You can customize your tree with decorations and colors to make it uniquely yours.
Materials Needed for Your Christmas Tree Drawing
Before you start your drawing, gather a few basic materials. You’ll need:
- Paper
- Pencil
- Eraser
- Colored pencils or markers
These items are easily accessible and will help you create a delightful holiday masterpiece. Having everything ready will make the drawing process smooth and enjoyable.
Step-by-Step Guide to Drawing a Christmas Tree
This tutorial will guide you through the process of creating a charming Christmas tree. It takes about 20 minutes to complete and is a fun activity for the whole family.
Follow these simple steps to bring your festive tree to life on paper. Each step builds on the last, making it easy to follow along.
Sketching the Tree Shape
Begin by sketching a triangle for the outline of your tree. Make sure the base is wider than the top point to give it a classic tree shape.
Keep your lines light at first, as you may want to adjust them later. This initial shape will serve as the foundation for your drawing.
Adding Layers for Branches
Next, draw horizontal lines across the triangle to create branches. These lines can be straight or slightly wavy for a more natural appearance.
Feel free to vary the spacing between the lines to create depth and dimension. This step adds character to your tree and makes it look fuller.
Creating the Trunk
At the bottom of your triangle, draw a rectangle to represent the tree trunk. This adds stability to your drawing and completes the tree structure.
Make sure the trunk is proportionate to the tree. A wider trunk can give the impression of a sturdier tree.
Decorating Your Christmas Tree
Now comes the fun part—decorating your tree! Add ornaments, garlands, and a star on top. Use circles for ornaments and wavy lines for garlands.
Let your creativity shine! You can choose to draw as many decorations as you like, using different shapes and sizes to make your tree unique.
Coloring Your Drawing
Finally, it’s time to bring your drawing to life with color. Use green for the branches, brown for the trunk, and bright colors for the decorations.
Colored pencils or markers work well for this step. Feel free to blend colors or add shading for a more dynamic look. Your tree will truly reflect the festive spirit!
Step-by-Step Guide to Drawing a Christmas Tree
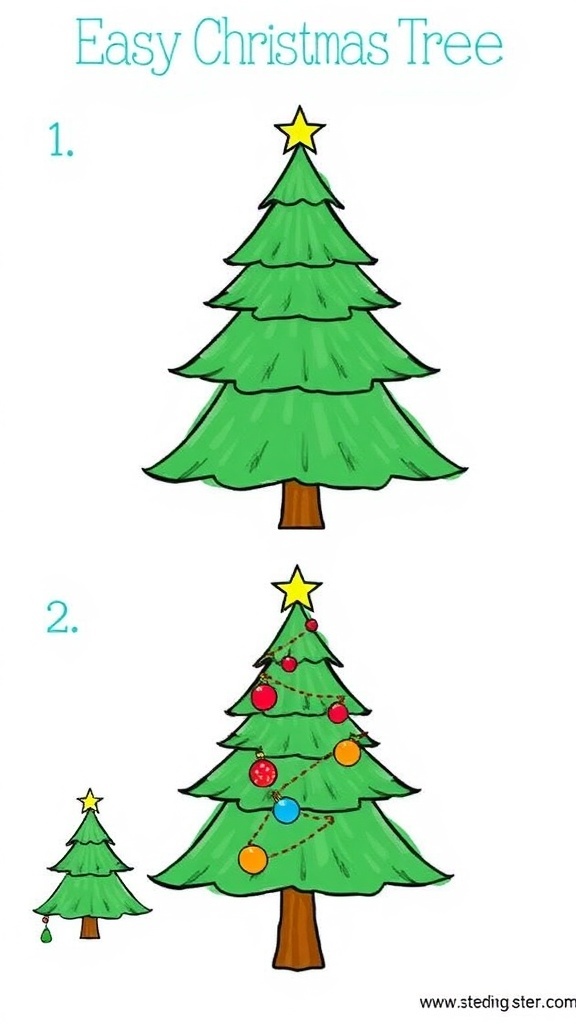
This drawing tutorial will guide you through the process of creating a charming Christmas tree. It takes about 20 minutes to complete and is a fun activity for the whole family.
Ingredients
Related
- Easy Christmas Tree Drawing Tutorial
- Christmas Tree Drawing Tutorial
- 3D Christmas Tree Drawing Tutorial
- Stylish Double Braid Hairstyle Tutorial