This easy Christmas tree drawing tutorial is perfect for beginners and kids. With simple steps, you can create a festive tree that captures the spirit of the holiday season.
The tutorial focuses on basic shapes and techniques, making it accessible for anyone looking to add a personal touch to their holiday decorations.
Materials Needed for Your Christmas Tree Drawing
Before you start your drawing, gather the necessary materials to ensure a smooth process. You’ll need:
- Paper
- Pencil
- Eraser
- Colored pencils or markers
Having these items ready will help you focus on the creative aspect of your drawing without interruptions. Choose a sturdy paper that can handle coloring, and make sure your pencils are sharpened for precise lines.
Sketching the Outline of the Tree
Begin your drawing by creating the basic shape of the Christmas tree. Start with a triangle, making the base wider and the top pointy. This will serve as the outline of your tree.
Next, add layers to your triangle. Draw horizontal lines inside the triangle to represent the branches. Each layer should be slightly shorter than the one below, giving your tree a natural, tiered look.
Adding Festive Decorations
Now it’s time to bring your tree to life with decorations. Draw circles and stars on the branches to represent ornaments. Feel free to get creative with the shapes and sizes of your ornaments!
Don’t forget to add a trunk at the bottom of the tree. A simple rectangle will do the trick, grounding your tree and giving it a finished appearance.
Coloring Your Christmas Tree
With the outline and decorations in place, it’s time to add color. Use a vibrant green for the tree to capture its lively essence. For the trunk, a warm brown will create a nice contrast.
Bright colors for the ornaments will enhance the festive feel. Think reds, yellows, and blues to make your tree pop against the light background.
Final Touches for a Polished Look
To give your drawing a clean and professional finish, outline your pencil drawing with a black pen. This will make the shapes stand out and add definition to your artwork.
Once the ink is dry, gently erase any remaining pencil marks. This will leave you with a crisp and colorful Christmas tree drawing ready to be displayed or shared!
Enjoying the Holiday Spirit Through Art
Creating a Christmas tree drawing is not just about the final product; it’s also about enjoying the process. Take your time, have fun with colors, and let your creativity shine.
This simple drawing can become a cherished holiday tradition, allowing you to express your festive spirit year after year. Whether you’re a beginner or an experienced artist, this tutorial offers a delightful way to celebrate the season.
Step-by-Step Guide to Drawing a Christmas Tree
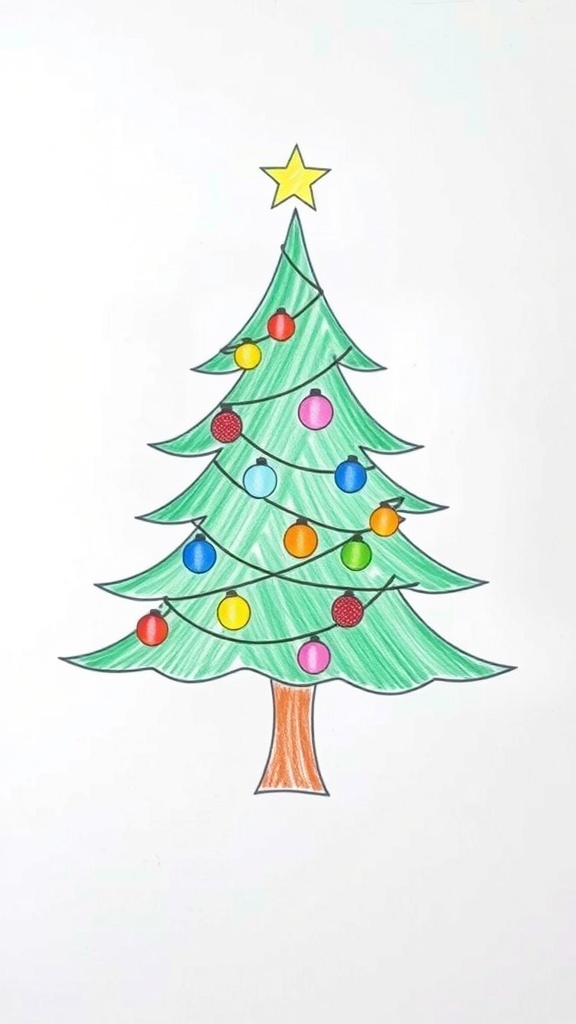
This drawing tutorial guides you through the process of sketching a Christmas tree using simple shapes. The entire process takes about 20 minutes and is suitable for all ages.
Ingredients
Related
- Christmas Tree Drawing Tutorial
- 3D Christmas Tree Drawing Tutorial
- Easy Christmas Tree Drawing Tutorial
- Stylish Double Braid Hairstyle Tutorial