This easy red Christmas nail design is perfect for the holiday season, adding a festive touch to your look. With simple techniques, you can achieve a stunning manicure that captures the spirit of Christmas.
The design features a classic red base with charming accents that can be done at home with minimal tools. It’s a straightforward way to show off your holiday spirit.
Festive Red Christmas Nail Art
This nail design is a cheerful expression of the holiday spirit, featuring a vibrant red polish as the base.
The addition of white snowflakes or gold glitter creates a festive flair that is sure to catch the eye.
Whether you’re a beginner or have some experience with nail art, this design is accessible and enjoyable to create.
Materials Needed
To achieve this stunning look, gather the following materials:
– Red nail polish for the base color
– White nail polish for the snowflake accents
– Gold glitter nail polish for an extra sparkle (optional)
– A top coat to seal the design
– A nail art brush or dotting tool for detailed designs
– A nail file to shape your nails
– A base coat to protect your natural nails
Preparation Steps
Start by prepping your nails for the design.
File your nails to your desired shape and apply a base coat to protect them from staining.
This step is essential for a long-lasting manicure that looks polished and professional.
Applying the Red Polish
Once your base coat is dry, it’s time to apply the red nail polish.
Two coats are recommended for a rich, vibrant color.
Allow each coat to dry completely to avoid smudging before moving on to the next step.
Adding Festive Accents
Now comes the fun part—adding accents!
Using a nail art brush or dotting tool, create charming snowflake designs on one or two accent nails with white polish.
Alternatively, you can apply gold glitter polish for a touch of sparkle that enhances the festive theme.
Finishing Touches
To complete your manicure, seal the design with a top coat.
This not only protects your artwork but also adds a glossy finish that makes the colors pop.
Be sure to allow your nails to dry completely before engaging in any activities to prevent smudging.
Festive Red Christmas Nail Art
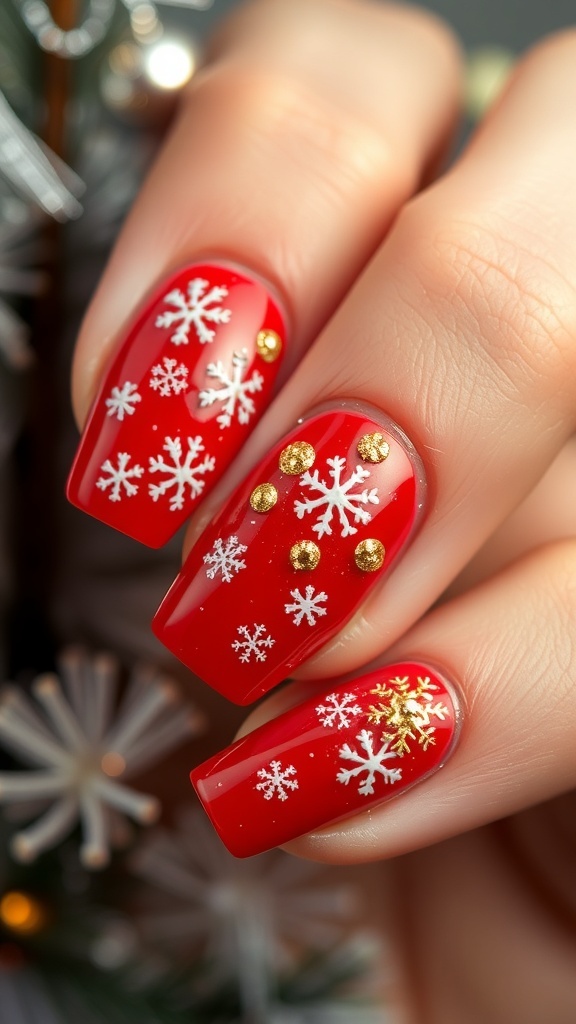
This nail design includes a vibrant red polish as the base, complemented by white snowflakes or gold glitter for a festive flair. The entire process takes about 30 minutes and is suitable for both beginners and experienced nail art enthusiasts.
Ingredients
- Red nail polish
- White nail polish (for snowflakes)
- Gold glitter nail polish (optional)
- Top coat
- Nail art brush or dotting tool
- Nail file
- Base coat
Instructions
- Prep Your Nails: Start by filing your nails to your desired shape and applying a base coat to protect them.
- Apply Red Polish: Once the base coat is dry, apply two coats of red nail polish, allowing each coat to dry completely.
- Add Accents: Using a nail art brush or dotting tool, create snowflake designs with white polish on one or two accent nails. Alternatively, apply gold glitter polish to add sparkle.
- Seal the Design: Finish with a top coat to protect your design and add shine.
- Drying Time: Allow your nails to dry completely before doing any activities to prevent smudging.
Cook and Prep Times
- Prep Time: 5 minutes
- Application Time: 25 minutes
- Total Time: 30 minutes
- Servings: 1 set of nails
- Calories: N/A
Related
- 5 Stunning Aztec Nail Design Ideas to Try
- Duck-Themed Nail Art Design
- Pink Duck Nail Art Design
- Duck Nail French Tip Design