Creating a North Pole sign drawing is a fun and festive activity that captures the spirit of Christmas. This simple art project can be enjoyed by people of all ages and is perfect for holiday decorations or greeting cards.
Using basic drawing techniques, you can create a whimsical sign that features classic elements like snowflakes, candy canes, and Santa’s sleigh. Gather your materials and let your creativity shine!
Materials Needed for Your Drawing
Before you start your festive drawing, gather all necessary materials to ensure a smooth creative process. You will need:
- Drawing paper
- Pencil
- Eraser
- Colored pencils or markers
- Ruler (optional for straight lines)
Having everything at hand will help you focus on bringing your North Pole sign to life without interruptions. Choose bright colored pencils or markers to capture the vibrant essence of Christmas.
Sketching the Signpost
Begin your drawing by sketching the signpost. Start with a vertical line for the post and a horizontal line for the sign itself. If you prefer straight edges, using a ruler can be beneficial.
Keep your lines light, as you will refine and add details later. This initial sketch serves as the foundation for your festive creation, so take your time to get the proportions right.
Adding Playful Text
Once your signpost is sketched, it’s time to add the text. Write ‘North Pole’ in large, playful letters across the sign. This is where you can let your creativity shine!
Consider embellishing the text with decorative elements like snowflakes or stars around it. These small details will enhance the festive feel of your drawing and make it more visually appealing.
Detailing the Signpost
Next, focus on adding texture to your wooden signpost. Draw horizontal lines along the post to represent wood grain, giving it a more realistic appearance.
These details are essential for bringing your drawing to life. They add depth and character, making your North Pole sign look inviting and warm, perfect for the holiday season.
Decorating with Festive Elements
Now it’s time to decorate your sign! Draw festive elements such as candy canes, snowflakes, or even a small sleigh at the base of the sign. These decorations will enhance the Christmas spirit of your artwork.
Feel free to get creative with the placement and size of these elements. The more festive details you add, the more captivating your drawing will become!
Coloring Your Masterpiece
With your drawing complete, it’s time to bring it to life with color. Use your colored pencils or markers to fill in the drawing with bright, cheerful colors.
Consider using classic Christmas colors like red and green for the sign and decorations. This will help capture the essence of the holiday and make your artwork pop.
Once you’re satisfied with the colors, outline your drawing with a black pen for a bold finish. Finally, erase any visible pencil marks to give your artwork a clean look.
Step-by-Step Guide to Drawing a North Pole Sign
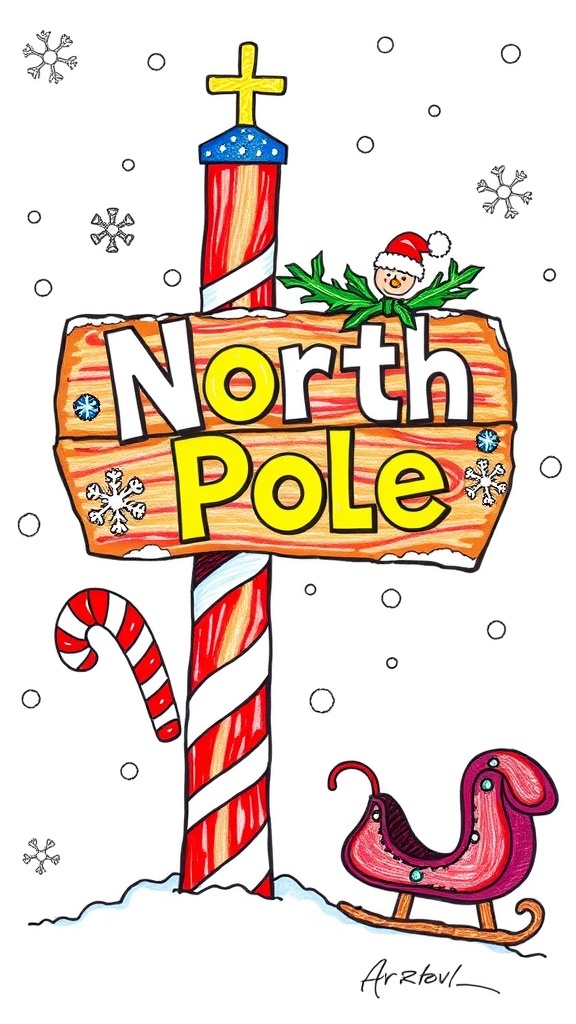
This drawing project involves sketching a wooden signpost with ‘North Pole’ written on it, surrounded by festive decorations. The process is straightforward and can be completed in about 30 minutes, making it an ideal holiday craft.
Ingredients
Related
- Does anybody live at the north pole?
- North Pole Christmas Drawing Recipe
- North Pole Christmas Coloring Pages
- North Pole Christmas Doodles Recipe