This guide will help you create a stunning realistic pencil drawing of a Christmas scene. Using simple techniques and tools, you can capture the festive spirit and intricate details of holiday decorations, snow, and cozy settings.
The process involves understanding light and shadow, as well as practicing your shading techniques to bring depth to your drawing.
Materials Needed for Your Drawing
To create a stunning pencil drawing of a Christmas scene, gather the necessary materials. Start with a selection of graphite pencils, including HB, 2B, 4B, and 6B. Each pencil grade will help you achieve different levels of darkness and detail.
You’ll also need a blending stump or tortillon for smoothing out your shading, along with both kneaded and regular erasers for corrections and highlights. Quality drawing paper is essential for capturing fine details and textures.
Lastly, collect reference images of Christmas scenes to inspire your composition. These images will guide you in understanding the elements you wish to include, such as the decorated tree and the snowy window.
Sketching the Outline
Begin your drawing by lightly sketching the basic shapes of your Christmas scene. Use an HB pencil for this initial outline, focusing on the composition and placement of the evergreen tree, gifts, and any other elements you wish to incorporate.
Pay attention to proportions and spacing, ensuring that each component fits harmoniously within the scene. This stage is about getting the layout right, so don’t worry about details just yet.
Adding Details to Your Drawing
Once the outline is complete, it’s time to refine your sketch. Use a 2B pencil to add intricate details to the tree decorations, gifts, and background elements. This is where your reference images will be particularly helpful.
Take your time to capture the unique features of each ornament and the texture of the wrapped gifts. The more detail you add, the more lifelike your drawing will become.
Shading Techniques for Realism
Shading is crucial for creating depth in your drawing. Start using a 4B pencil to shade areas that would naturally be darker, such as the shadows cast by the tree and gifts.
Utilize a blending stump to smooth out the graphite, creating a more realistic effect. This technique will help your drawing achieve a three-dimensional look, enhancing the cozy atmosphere of the scene.
Highlighting Key Areas
To bring your drawing to life, use an eraser to lift graphite in areas where light hits. Focus on the ornaments on the tree and the snow on the window, as these highlights will add sparkle and dimension.
Carefully consider where the light source is coming from to ensure your highlights are placed accurately. This step is vital for achieving a realistic and inviting scene.
Final Touches and Review
Once you’ve completed the shading and highlighting, take a step back to review your drawing. Look for areas that may need more detail or additional shading to enhance the overall look.
Add depth and texture where necessary, ensuring that your cozy Christmas scene feels complete. This final review is your opportunity to make adjustments and elevate the quality of your artwork.
Step-by-Step Guide to Drawing a Christmas Scene
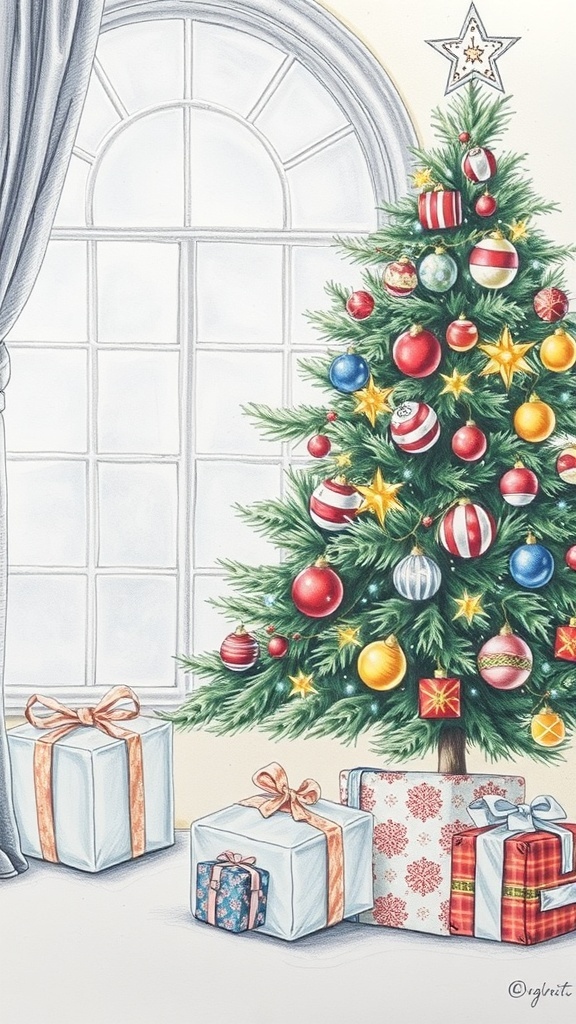
This drawing focuses on a classic Christmas scene featuring a decorated tree, gifts, and a snowy window. The drawing process takes about 2-3 hours, depending on your skill level and detail preference.
Ingredients
Related
- Creative Christmas Drawing Ideas with Pencil
- Christmas Pencil Drawing Techniques
- Creative Christmas Drawing Ideas with Pencil
- Christmas Pencil Drawing Techniques