This guide provides a step-by-step approach to drawing Rudolph the Red-Nosed Reindeer, a beloved character from Christmas folklore. Perfect for artists of all skill levels, this drawing tutorial will help you create a festive and cheerful rendition of Rudolph.
Using simple shapes and techniques, you can capture the essence of this iconic reindeer, making it a fun activity for the holiday season.
Materials Needed for Your Drawing
Before starting your artistic journey, gather all the necessary materials.
You will need a pencil for sketching, an eraser for corrections, and quality paper to bring your drawing to life.
Colored pencils or markers will help you add vibrant colors to Rudolph, while a reference image of Rudolph can guide you in capturing his likeness accurately.
Basic Shapes as the Foundation
Begin your drawing by sketching basic shapes.
Start with a large oval for Rudolph’s body and a smaller circle for his head.
These shapes will serve as the foundation for your illustration, allowing you to establish proportions and layout before adding details.
Don’t forget to include guidelines for the facial features, which will help you position the eyes, nose, and mouth accurately.
Refining the Head and Antlers
Once you have the basic shapes, it’s time to refine the head.
Outline the head shape, ensuring to add the ears and antlers.
Position the antlers symmetrically to give Rudolph a balanced appearance, enhancing his festive charm.
Pay attention to the size and shape of the antlers, as they are a key feature of Rudolph’s character.
Bringing the Face to Life
Next, focus on drawing Rudolph’s face.
Add his expressive eyes, signature red nose, and cheerful mouth to capture his joyful personality.
Make sure to give special attention to the red nose, as it is an iconic aspect of his character.
These facial features will convey the spirit of Christmas and bring your drawing to life.
Sketching the Body and Adding Details
With the face complete, move on to sketching the body.
Outline the legs and tail, ensuring they are proportionate to the head.
This step is crucial for achieving a cohesive look in your drawing.
Once the body is outlined, add details such as fur texture, a festive collar, and any additional decorations like a scarf or bells to enhance the holiday theme.
Finalizing and Coloring Your Artwork
After completing the sketch, it’s time to finalize your drawing.
Go over your pencil lines with a pen or darker pencil to make them stand out, and erase any unnecessary guidelines to clean up your work.
Finally, use colored pencils or markers to add life to your drawing.
Focus on browns for the fur and a bright red for the nose, ensuring Rudolph stands out against a backdrop of snowflakes and Christmas decorations.
Step-by-Step Rudolph Drawing Instructions
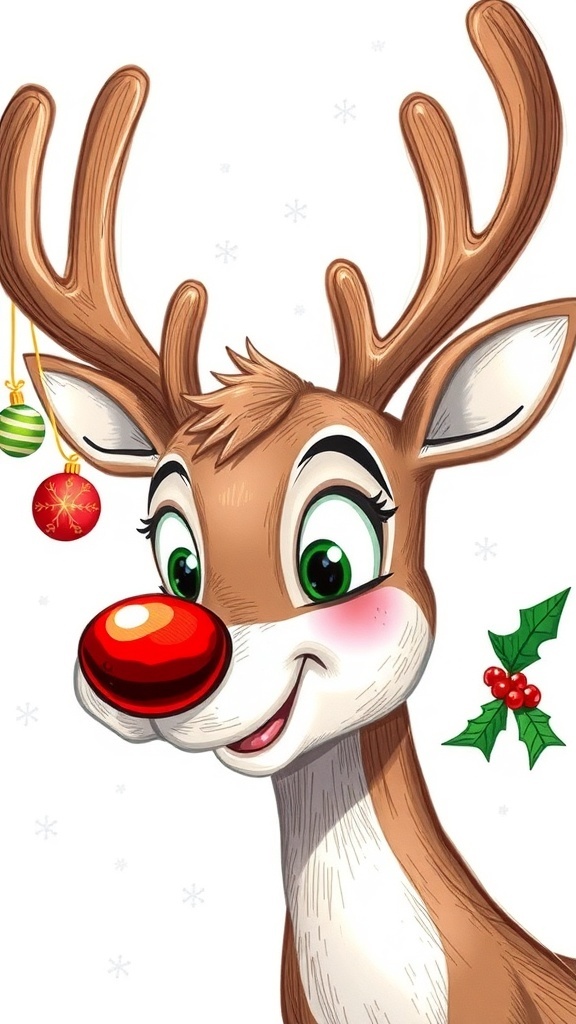
This drawing guide will take you through the process of creating a charming illustration of Rudolph. It includes tips on proportions, shading, and adding festive elements to enhance your artwork.
Ingredients
Related
- Rudolph the Red-Nosed Reindeer Drawing Guide
- Rudolph the Red-Nosed Reindeer Coloring Pages
- Rudolph the Red-Nosed Reindeer Christmas Cookies
- Rudolph the Red-Nosed Reindeer Christmas Door Decoration