This tutorial provides step-by-step instructions for creating an adorable duck drawing. Perfect for beginners and those looking to improve their drawing skills, this guide breaks down the process into simple shapes and techniques.
You will learn how to sketch the basic outline, add details, and bring your cute duck to life with color.
Materials Needed for Your Duck Drawing
Before you start your drawing, gather all the necessary materials. A simple setup will help you focus on the creative process.
You will need a pencil for sketching, an eraser for corrections, and paper or a sketchbook to bring your ideas to life. If you wish to add color, markers or colored pencils can enhance your artwork. Reference images of ducks can also be helpful for inspiration and accuracy.
Sketching the Basic Shapes
Begin your drawing by establishing the basic shapes that will form the duck. Start with an oval for the body, tilting it slightly to give a playful stance. This will serve as the foundation for your cute duck.
Next, sketch a smaller circle for the head, connecting it to the body with a gentle curve for the neck. This simple approach makes it easier to visualize the proportions of your duck.
Adding Features to Your Duck
Once the basic shapes are in place, it’s time to add distinctive features. Create a small triangular shape extending from the head for the beak. This will give your duck its charming expression.
For the eyes, draw two circles and add smaller circles inside for the pupils. Big expressive eyes will bring your duck to life, making it look adorable and inviting.
Refining Your Drawing
With the main features sketched, it’s time to refine your drawing. On each side of the body, draw curved lines to represent the wings. Then, add two small webbed feet at the bottom of the body to complete the duck’s look.
Go over your drawing with a darker pencil or pen to solidify the outline. Erase any unnecessary lines to clean up your artwork, ensuring that the cute duck stands out clearly.
Bringing Your Duck to Life with Color
Now comes the fun part: adding color! Use bright yellow for the body to capture the cheerful essence of your duck. For the beak and feet, an orange hue will complement the yellow beautifully.
Feel free to add any additional colors or details that inspire you. A simple blue background can enhance the overall appearance, making your duck illustration pop.
Final Touches and Displaying Your Artwork
After coloring, take a moment to review your drawing. Make any final adjustments or touch-ups to ensure everything looks just right.
Once satisfied, consider displaying your artwork. Whether framing it or sharing it with friends, your cute duck drawing is sure to bring smiles and joy!
Step-by-Step Cute Duck Drawing
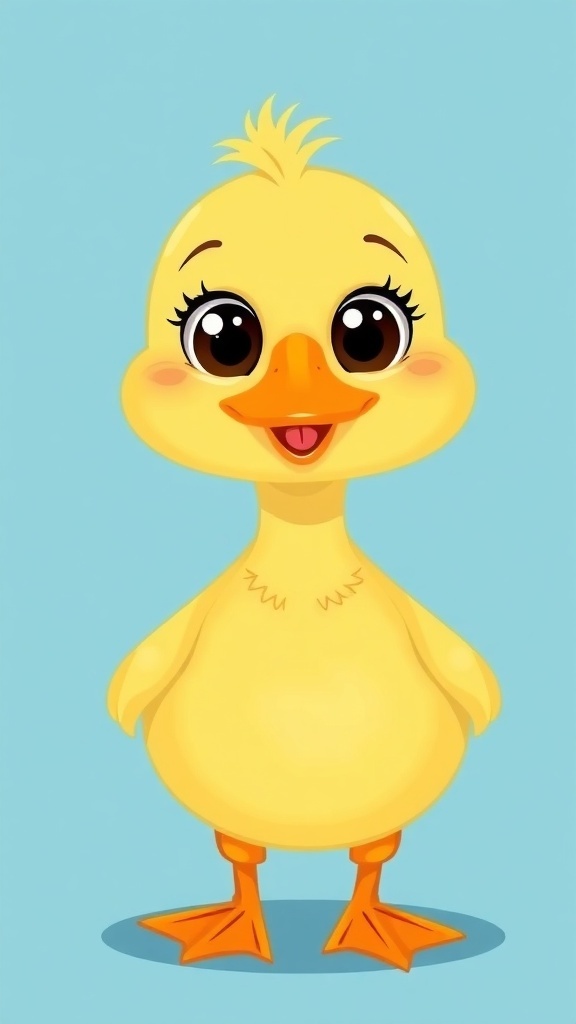
This drawing tutorial is designed for artists of all levels. It takes approximately 30 minutes to complete and can be done using pencils, markers, or digital tools.
Ingredients
Related
- Duck-Shaped Acrylic Nails Tutorial
- Duck Drawing Tutorial
- Easy Duck Drawing Tutorial
- Simple Duck Drawing Tutorial