This easy duck drawing tutorial is perfect for beginners and anyone looking to improve their drawing skills. With just a few simple shapes and steps, you can create a charming duck illustration.
Follow along to learn how to sketch a cute duck using basic drawing techniques that can be applied to various styles.
Materials Needed for Your Duck Drawing
Before you start your drawing, gather the necessary materials. Having everything ready will make the process smooth and enjoyable.
You will need a pencil for sketching, an eraser for corrections, and a piece of paper to draw on. If you want to add some flair, a black pen or marker can be used for outlining your duck. Finally, colored pencils or markers will help bring your duck to life with vibrant colors.
Step 1: Drawing the Body
Begin your duck drawing by creating the body. Start with an oval shape that will serve as the main part of the duck.
Make sure the oval is slightly wider at the bottom to give your duck a cute, rounded appearance. This shape will form the foundation of your cartoon-style duck.
Step 2: Adding the Head
Next, sketch a smaller circle at one end of the oval for the duck’s head. Position it so that it connects seamlessly with the body.
This smaller circle will help define the duck’s face and give it a charming look. Keep the proportions in mind to maintain a cartoonish style.
Step 3: Creating the Beak and Eye
Now it’s time to add the beak. Draw a triangle shape extending from the front of the head. This will be the duck’s beak, so ensure it’s proportionate to the head.
Above the beak, add a small circle for the eye. This simple detail will bring personality to your duck, making it look friendly and cute.
Step 4: Sketching the Wings and Tail
To make your duck more dynamic, sketch a curved line on the body to represent the wing. This line should flow naturally along the side of the body.
At the opposite end of the oval, create a small triangular shape for the tail. This adds character and completes the duck’s silhouette.
Step 5: Adding Legs and Feet
For the legs, draw two straight lines extending down from the body. These will form the legs of your duck.
At the bottom of each leg, add webbed feet by drawing a few curved lines. This detail is essential for capturing the essence of a duck.
Step 6: Outlining and Coloring
Once you are satisfied with your sketch, it’s time to outline your drawing. Use a black pen or marker to trace over your pencil lines, making your duck stand out.
After outlining, you can add color to your duck using colored pencils or markers. Choose bright colors for a cheerful look, and don’t forget to color the background lightly to emphasize your creation.
Step-by-Step Duck Drawing Guide
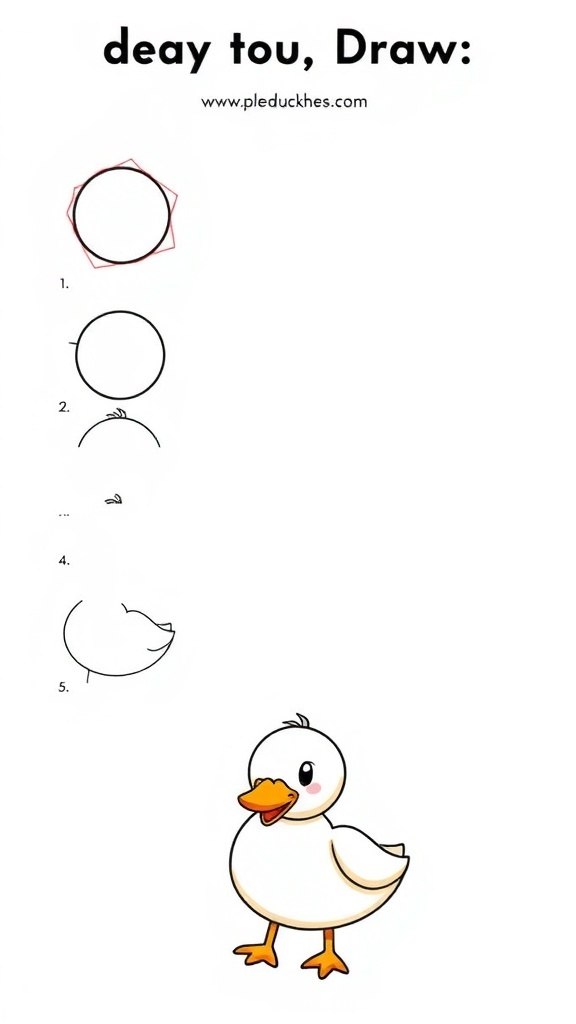
In this tutorial, you will learn how to draw a duck in a few simple steps. The process is straightforward and can be completed in about 20 minutes, making it a fun activity for all ages.
Ingredients
Related
- Duck-Shaped Acrylic Nails Tutorial
- Duck Drawing Tutorial
- Easy Duck Drawing Tutorial
- Cute Duck Drawing Tutorial